Features
Ticketing for sports fans: How to fill the stands?
Who doesn’t love efficient ticketing? Discover the settings that help you maximize revenue and boost your chances of a sold-out event!
The key to optimal ticket sales is a well-configured ticket type. We’ll show you how to maximize your revenue with Cooltix ticket settings!
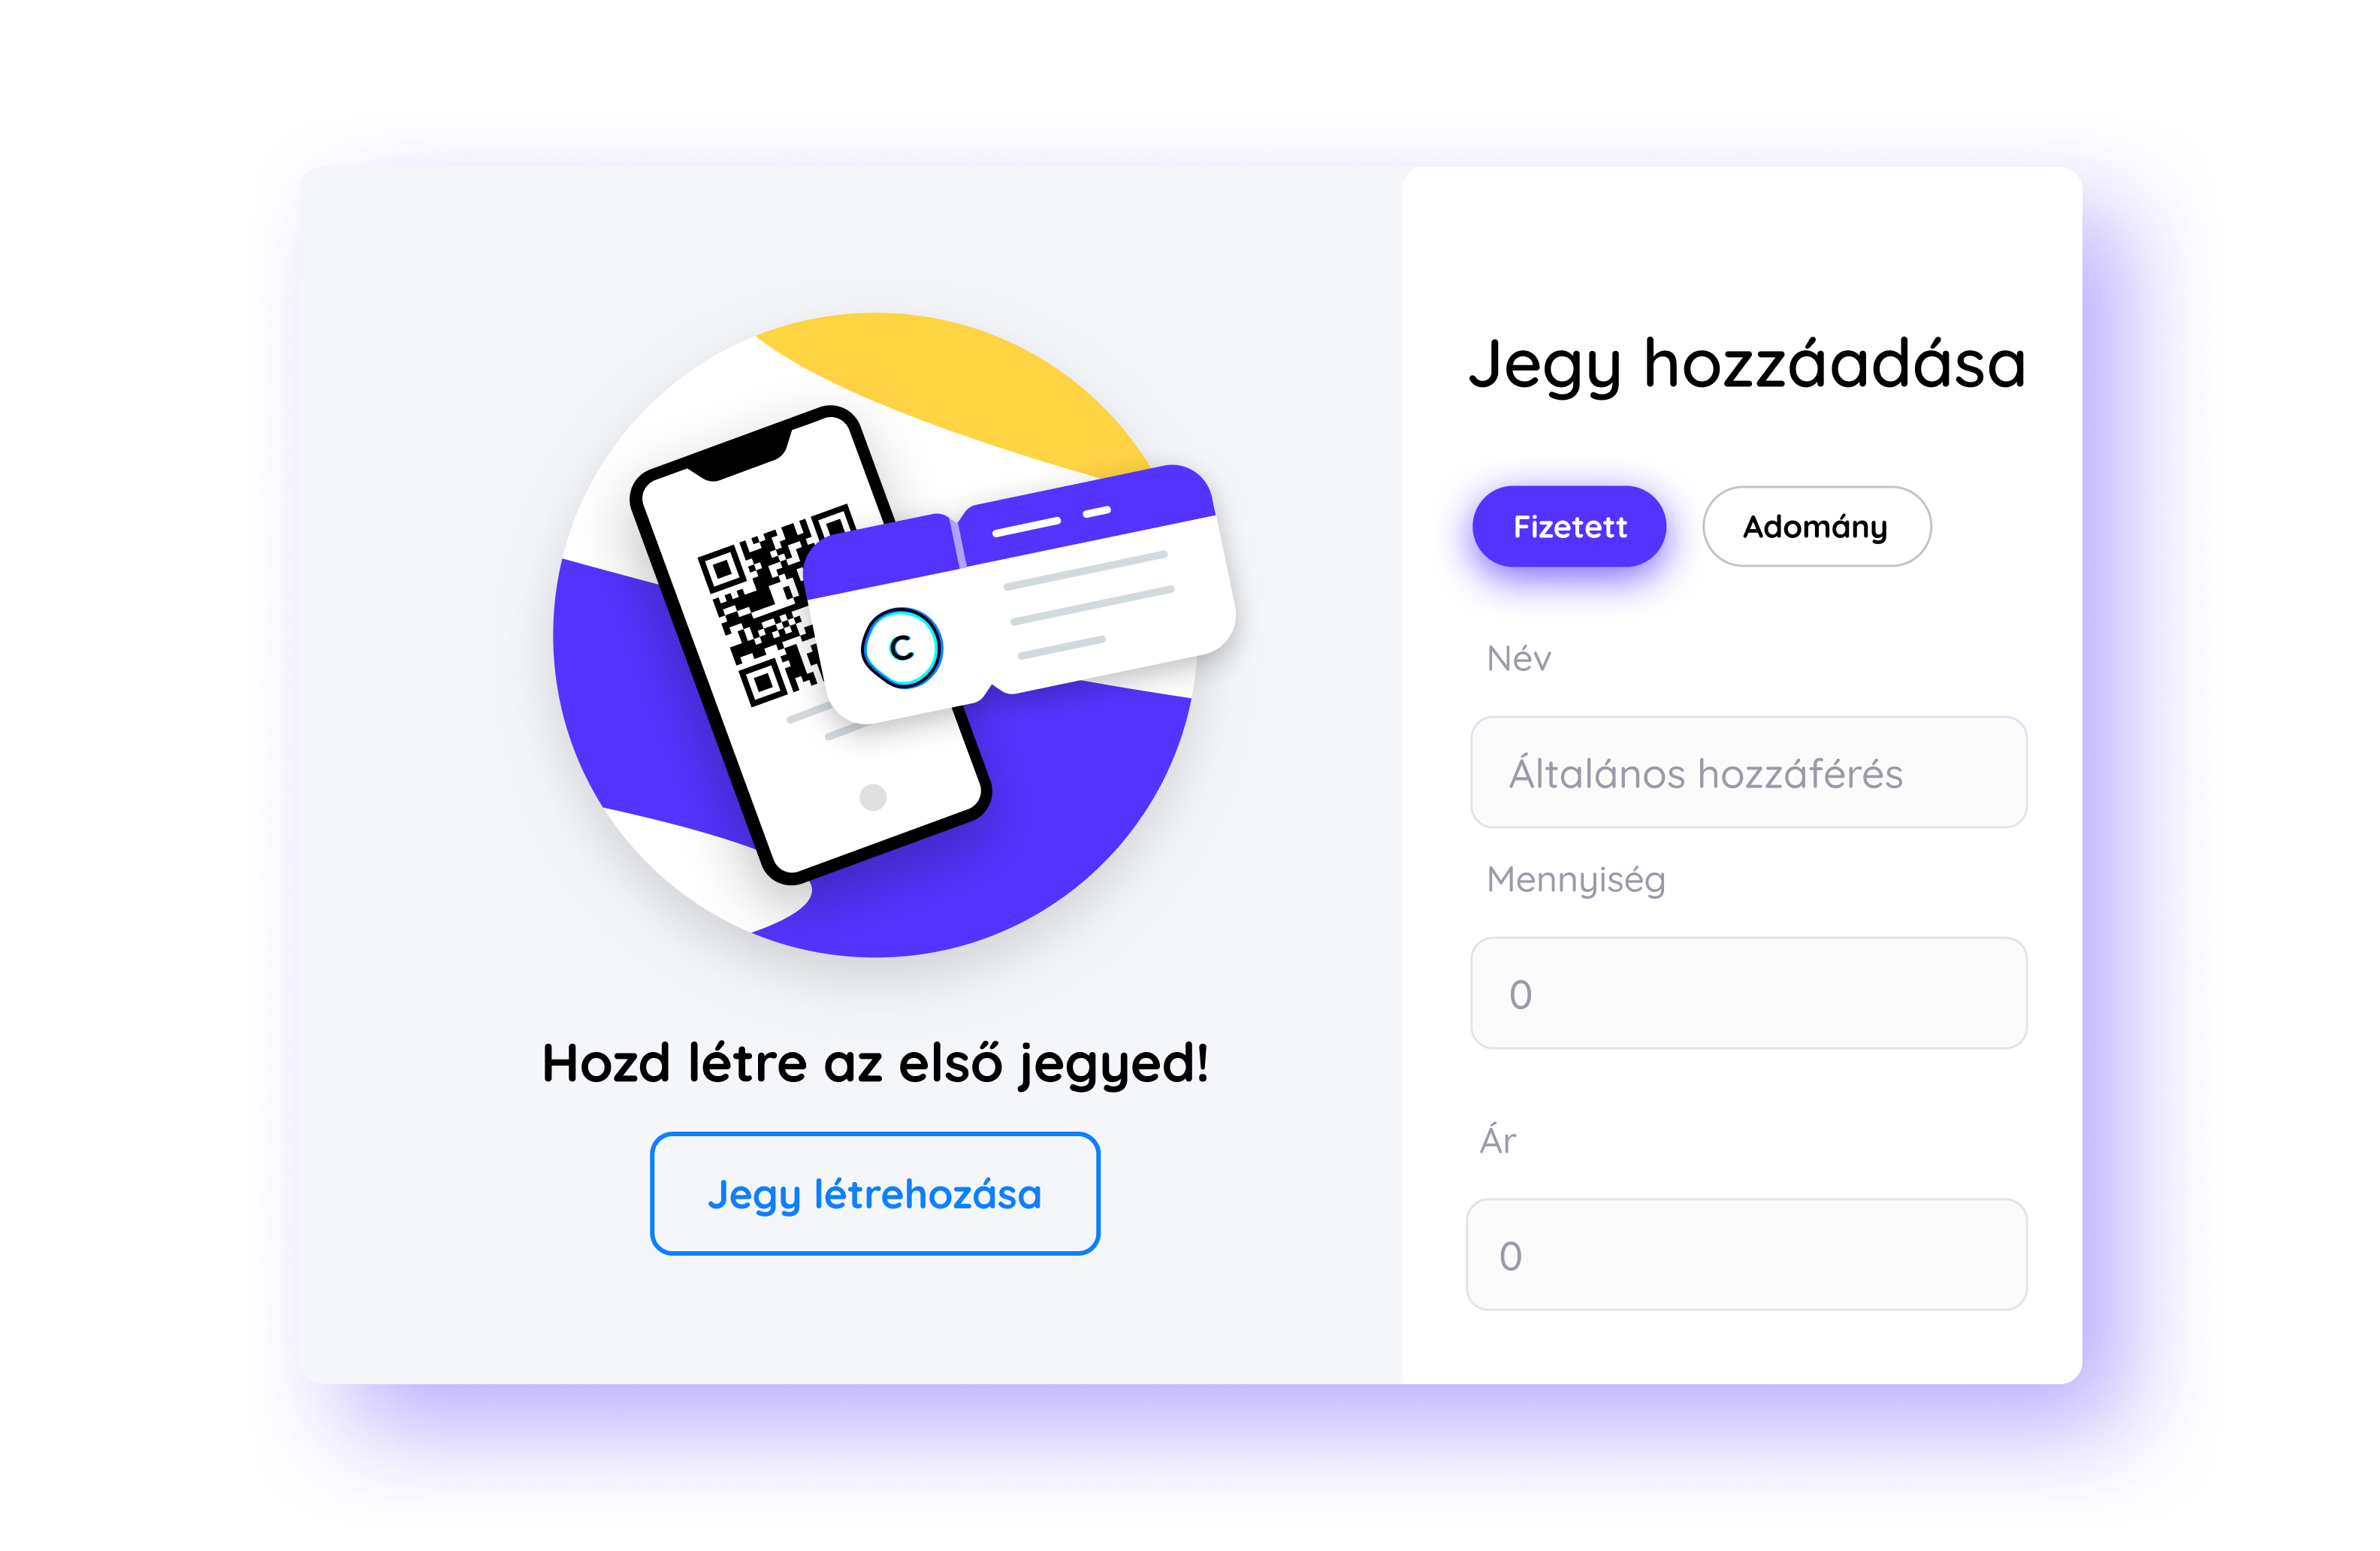
Always give your tickets a name. Buyers primarily choose from the available tickets based on their names, so it’s important to select something unique and easily distinguishable. The name will appear on the ticket and in all reports.
This is a short description that helps buyers choose between different ticket types. It will be visible on the buyer’s page and on the ticket itself, but it will not appear in the confirmation email.
The pricing setup determines how the ticket price is calculated. You can choose between two options:
Standard: The traditional pricing method, where the ticket has a fixed price that usually does not change. You can adjust it manually if needed.
Dynamic: The price changes based on demand and availability, with the pricing engine updating the amount at intervals according to your settings. We’ve written more about the innovative possibilities of dynamic pricing — check it out!
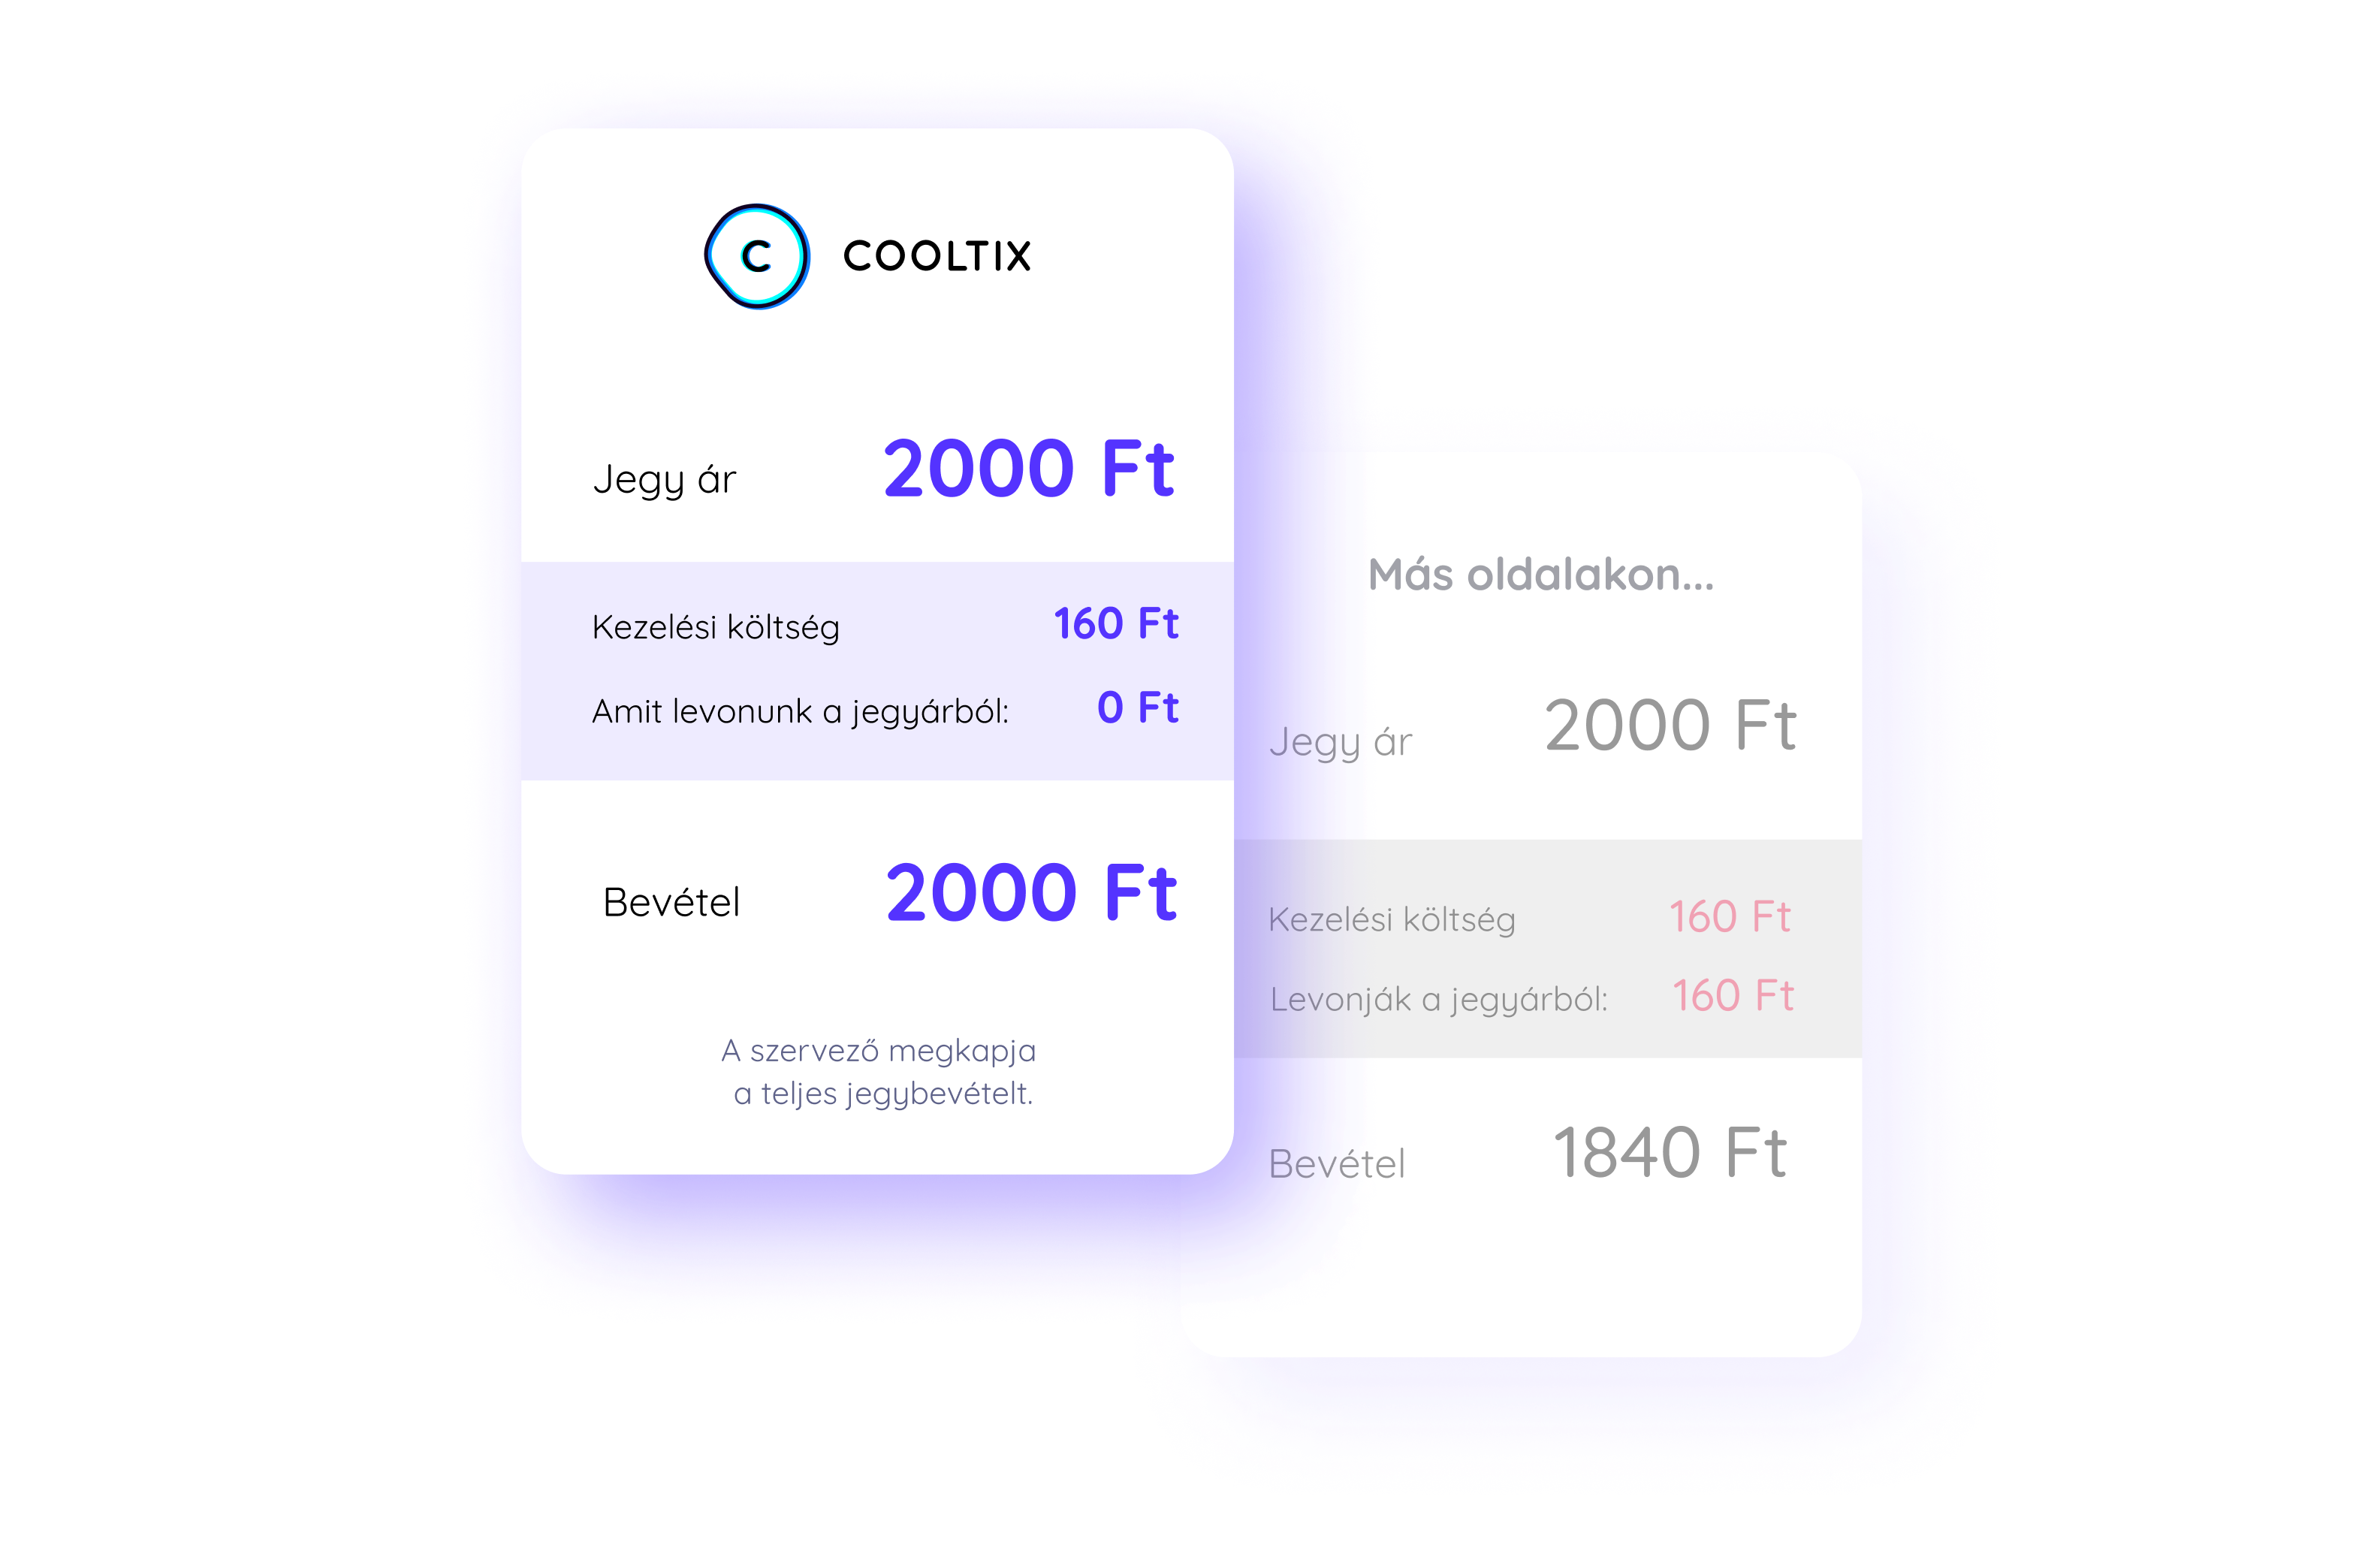
This is the gross price of the ticket. In addition to this, the buyer pays the handling fee. You can adjust the event currency in the event settings.
The handling fee is the charge paid by the buyer on top of the ticket price. The entire amount goes to the organizer.
If the handling fee is higher than the Cooltix fee, the organizer keeps the difference as extra revenue.
If the handling fee is lower, the difference is deducted from the ticket price.
If the handling fee matches the Cooltix fee, the organizer receives exactly the ticket price.
When setting the handling fee, we always show exactly how much the organizer will receive per ticket sold based on the specified parameters.
When you set the number of tickets available, only that specified amount can be sold for that ticket type. Once the sold tickets reach this limit, the ticket will show as “sold out,” and no more can be purchased.
It’s good to know that when a buyer adds a ticket to their cart, it is reserved for 15 minutes. If it’s not paid for within this time, it becomes available again. This ensures that no more tickets are sold than the set limit. This is also why a ticket type might appear “sold out” on the buyer’s page but later become available again.
Keep in mind that if you don’t set a ticket quantity, buyers will be able to purchase an unlimited number of tickets!
If you want to offer free tickets, set the price to 0. In these cases, our system functions as a registration platform: buyers are not redirected to a payment page and no invoice is issued. The system automatically takes them to the successful purchase page, where they can download their tickets.
Handling fees cannot be added to free tickets, and we also do not charge any fees for them.
Invoices are issued based on the VAT rate of the product. When providing your business details, you can indicate if you are not required to pay VAT on your revenue.
This is the date and time when tickets become available for purchase. The default option is “Start immediately”, meaning tickets can be purchased as soon as the event is published. With the “Date and time” option, you can set the exact date and time when ticket sales will open.
This is the point until which tickets can be purchased. With the default “Event start” setting, ticket sales close when the event begins. “Event end” closes sales at the end of the event. “Sold out” stops sales when all tickets have been sold. You can also choose “Date and time” to set a custom end date.
This is the timeframe during which the tickets are valid. Within this period, the entry app will show the tickets as valid; once it ends, they will appear as invalid.
“During the event” (default) – tickets are valid from the start to the end of the event.
“Custom timeslot” – tickets are valid within the timeframe you specify.
Only visible tickets appear on the buyer interface.
Visible (default): The ticket is available for purchase.
Hidden: The ticket is not visible and cannot be purchased.
Hidden if not purchasable: The ticket is only visible to buyers when it can actually be purchased.
Buyers cannot add fewer or more tickets to their cart than the number set here. They can buy any number of tickets for the event, but they must make separate purchases for each set.
We recommend setting a maximum quantity because it prevents buyers from:
Temporarily reserving all available tickets for an event.
Checking how many tickets are available for sale.
Keep in mind that if the minimum quantity per order is greater than 1, you may not be able to sell all tickets for the event.
For example: you want to sell 100 tickets, but the minimum quantity per order is set to 2, and 99 tickets have already been sold. The customer will not be able to purchase the last remaining ticket because they would be required to buy at least 2 tickets per order.
You can decide where you want to sell your tickets. Multiple sales channels can be selected at the same time.
Online: Tickets are available to anyone at any time through the Cooltix website. If you disable this option, tickets cannot be purchased online.
Promoter: Tickets can be sold through your promoters. This page is only accessible to sales users after logging in.
If you turn this off, buyers will not receive a ticket with a QR code at purchase—only a confirmation email.
Only disable this feature if you are sure your customers won’t need tickets to enter the event (for example, if you will contact them directly by email with the event details).
Attention! If you sell a ticket this way, it cannot be updated later to include a QR-coded ticket.
You can create tickets that allow buyers to enter multiple times (for example, couple tickets or passes). Set how many times the ticket should be valid, and the QR code will reflect this number at the entrance. For example, if the number is set to 4, the QR code will register as valid 4 times.
To prevent accidental multiple entries, there must be at least 5 seconds between scans of the same QR code. The app cannot process the same QR code more than once within 5 seconds.
In this post, we introduced the many options available for configuring your ticket types. The more thoroughly you work through the process, the better your chances of maximizing your sales numbers. Most features can be set by any registered organizer, and if you have any special requirements, feel free to contact us.
Create a new event and try out the Cooltix ticket setup features!
Who doesn’t love efficient ticketing? Discover the settings that help you maximize revenue and boost your chances of a sold-out event!
Your festival’s peak season is always stressful — but you don’t have to handle it all alone. Here’s how a ticketing partner can support you behind...
Fast, secure, and flexible ticket purchasing – find out why multiple payment options matter!
You can start selling tickets in just a few minutes!
